Snail farming is one of the most affordable ways to start a livestock business in Africa. You do not need a lot of land. You do not need expensive equipment.
But like any business, snail farming has rules. Follow them and your snails grow well, sell well, and make you consistent income. Ignore them and your snails dry out, escape, or die and you wonder what went wrong.
This guide explains everything in simple steps. Even if you have never farmed before, you will understand exactly what to do.
What Is Snail Farming?
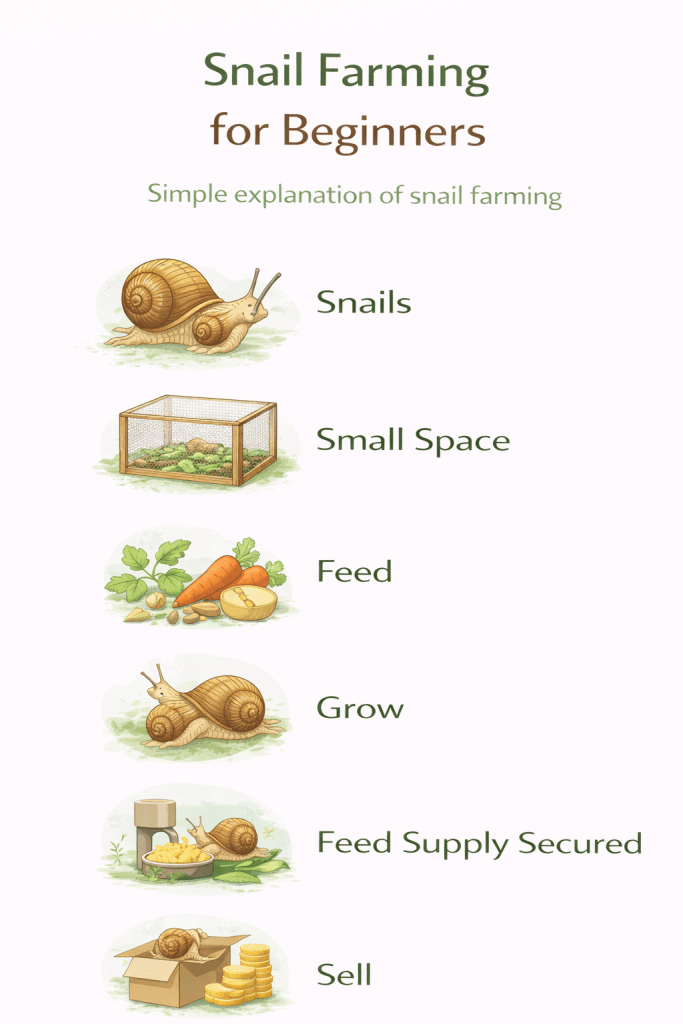
Snail farming; also called heliciculture (heli-si-culture) means raising snails in a controlled space so they grow well and can be sold for food. Snails are low-cost to feed, need very little space, reproduce on their own, and are in high demand in markets and restaurants across Nigeria and West Africa. It is one of the easiest livestock businesses to start from home.
Think of it this way: instead of going to the bush to look for snails, you create a small space where they live, eat, grow, and multiply on their own. You control the environment. You feed them regularly. When they are big enough, you sell them.
Why Snail Farming Is a Good Business
Here is why many people across Nigeria, Ghana, and Cameroon are choosing snail farming:
Very low startup cost. A small beginner setup costs very little. This is much less than poultry, catfish, or pig farming. If you are starting with limited money and want a real livestock business, snails are one of the most realistic options available to you right now.
High demand. Snails are eaten across Nigeria; fried, peppered, in soups, and in restaurants. Many markets never have enough supply, especially during dry season when wild snails are less available.
Small space needed. You can raise snails in a backyard, a corner of a compound, or a shaded section of your garden. A beginner setup fits in 4–6 square metres.
Low feed cost. Fresh leaves, fruits, and kitchen scraps make up most of a snail’s diet. Your feed cost is very low compared to poultry or catfish.
They reproduce on their own. Snails are hermaphrodites; meaning every adult snail has both male and female parts. Any two adult snails can mate and both can lay eggs. A healthy snail lays 100–400 eggs per year.
How to run a successful snail exportation business in Nigeria
How to Start a Snail Farming Business (Step-by-Step)
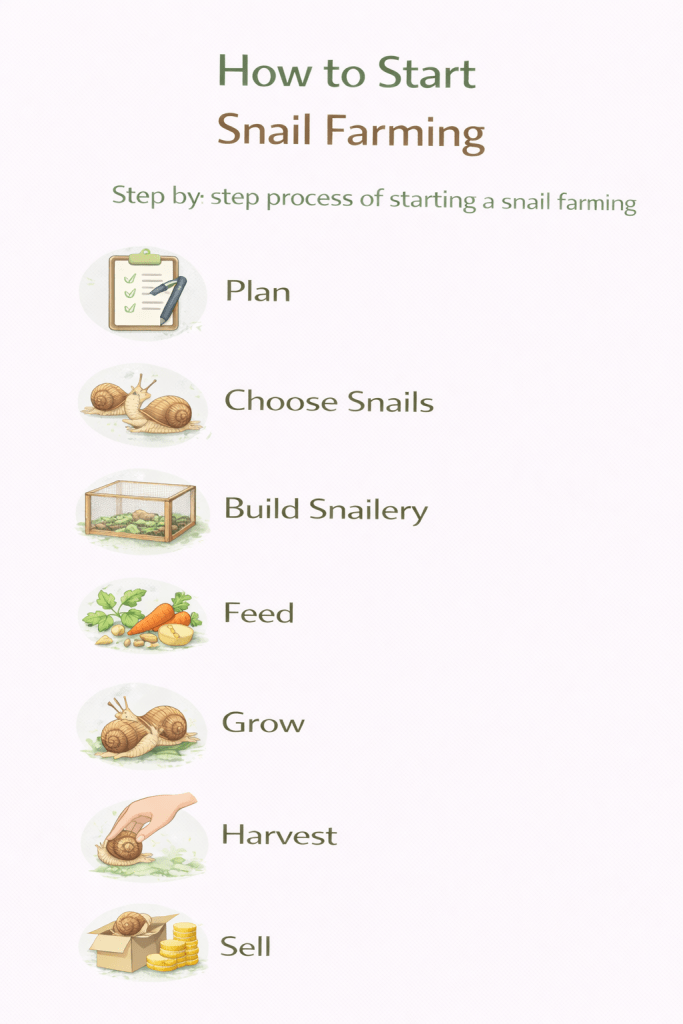
Step 1: Learn and Plan
Before you buy any snails, spend a day or two answering three questions:
- What type of snail will you raise? (Covered in Step 2.)
- Where will you keep them? A snailery; the place where snails are kept, needs to be shaded and moist.
- Who will buy your snails? Visit your local market first. Ask sellers how much they pay per kilogram of live snails. Ask if there is a shortage. This tells you whether demand exists in your area before you invest.
Planning takes one to two days. It saves months of guessing.
One important thing to know: snail farming requires daily attention; feeding, misting, checking the environment. It is simple work, but it must be consistent. If you cannot commit 20–30 minutes every day, this business will struggle.
Step 2: Choose the Right Snail Type
For beginners in Nigeria and West Africa, one snail species stands above all others:
Achatina Achatina — the Giant African Land Snail.
Here is why it is the best choice:
- It grows very large; up to 30cm in length and 500g or more at full maturity
- It is native to West Africa and adapts well to Nigerian heat and humidity
- It is the most commonly eaten snail species in Nigeria and commands the highest market price
- It is hardy and can handle the conditions of most Nigerian environments
Avoid snail species that are not native to your climate, they cost more to buy and are much harder to keep alive.
Where to buy Achatina Achatina:
- Wild-caught snails from forest collectors; most affordable, but check carefully for shell damage and signs of poor health
- Registered snail farms and breeders, more expensive but healthier starting stock with a known history
Step 3: Build a Snail House (Snailery)
A snailery is simply the place where snails are kept. It does not need to cost much. It needs to be:
Shaded. Snails hate direct sunlight. It dries them out and kills them fast. Your snailery must be in shade, under a tree, inside a building, or covered with a shade net or tarpaulin.
Moist. Snails need moisture in the soil and air to survive and grow. The soil in your snailery should feel damp, like garden soil after light rain; not soaking wet, not dry and crumbly.
Secure. Snails are slow, but they escape easily through gaps. They also attract predators; lizards, rats, ants, and birds. Your snailery must keep snails in and predators out.
Well-ventilated. Snails need fresh air. A pen with wire mesh sides (covered at the top with a shade net or solid roof) works well.
Simple snailery options for beginners:
- Wooden box: Build a box from planks, approximately 1m × 1m × 0.5m. Cover the top with fine wire mesh. Fill the bottom with 10–15cm of moist, loose loamy soil.
- Old tyres or drums: Stack old tyres or cut a 200-litre drum in half. Fill with moist loamy soil. Cover with mesh. Very low cost.
- Hutch box: A raised wooden pen with legs (to keep ants and rats out). Each hutch box measures roughly 120cm × 60cm × 60cm. Popular with medium-scale farmers.
- Outdoor pen with mesh: For larger operations, a section of ground with smooth concrete or sheet metal walls (snails cannot climb smooth surfaces) and a mesh roof.
The soil matters. Snails need calcium to build their shells. Use loamy soil and add crushed eggshells, food-grade calcium carbonate, or crushed chalk to the pen. This helps snails grow faster and develop stronger shells.
Avoid clay soil (too sticky when wet, too hard when dry) and sandy soil (drains too fast, stays too dry). Loamy soil holds moisture well and is what snails prefer.
Step 4: Get Healthy Snails
When you go to buy your first snails, here is what to look for:
Signs of a healthy snail:
- Active and responds when touched, a healthy snail reacts to disturbance
- Clean, unbroken shell with no cracks or holes
- No unusual smell
- Moist, plump body; not dried or shrivelled
- Shell opening looks clean and undamaged
Signs of a snail to avoid:
- Cracked or broken shell; makes the snail vulnerable to infection and dehydration
- Shrivelled, inactive body; may be sick, dehydrated, or dying
- Strong unpleasant smell; indicates disease or rot
- Very small for the species; may be underdeveloped or unhealthy
For a first batch, start with 20–50 snails. This is enough to learn the system without a big investment. Once you understand how they feed, breed, and behave in your specific environment, you can expand confidently.
Always keep new arrivals in a separate pen for 5–7 days before placing them with your main stock. This is called quarantine; it prevents any disease the new snails might carry from spreading to your whole group.
Step 5: Feed and Care
Snails are herbivores; they eat only plants. And they are not picky. Here is what they eat well:
Fruits:
- Pawpaw (papaya) one of the best snail foods. They love it and it promotes fast growth.
- Banana and plantain (both skin and flesh)
- Mango (ripe or slightly overripe)
- Watermelon and cucumber
Vegetables and leaves:
- Cabbage and lettuce
- Ugwu (pumpkin leaves)
- Ewedu (jute mallow)
- Sweet potato leaves
- Cassava leaves (in small amounts)
Calcium sources very important for shell growth:
- Crushed eggshells; collect from your kitchen, crush finely, and spread in the pen
- Cuttlebone (sold in pet shops)
- Crushed chalk or food-grade calcium carbonate
What NOT to feed snails:
- Anything salted; even a small amount of salt can kill snails
- Citrus fruits (oranges, lemons); too acidic
- Onions
- Any processed or packaged food
Water and misting:
Snails do not drink water directly. They absorb moisture through their bodies. Mist the inside of the snailery lightly with clean water once or twice a day; especially during dry season. Morning and evening works well. Do not flood the pen.
Feeding schedule:
Feed once a day, in the evening. Snails are most active at night. Remove uneaten food the next morning before adding fresh food rotting food attracts insects and pests.
Step 6: Breeding and Growth
Snails breed by themselves. You do not need to do anything special to encourage it. As long as your snails are healthy, well-fed, and living in the right conditions, they will mate and lay eggs without any help from you.
How it works:
- Any two adult Achatina Achatina snails can mate with each other; both will lay eggs after mating
- A healthy adult lays 100–400 eggs per year, in batches of 10–30 eggs at a time
- Eggs are laid in the soil; the snail digs a small hole, deposits the eggs, and covers them
- Eggs hatch in 4–6 weeks depending on temperature and humidity
- Baby snails (called hatchlings) are tiny but grow quickly in a good environment
What you should do:
- Check the soil every few weeks for egg clutches; they look like small white or cream-coloured balls, slightly smaller than a grape
- Mark the spot and leave the eggs undisturbed until they hatch
- Once hatchlings are visible, move them to a separate smaller pen so they are not crushed by adult snails
Growth rate for Achatina Achatina:
- Reaches market size (100–250g) in approximately 6–12 months
- Good feeding and proper moisture bring this closer to 6 months
- Poor feeding or a dry environment pushes it toward 12 months or longer
Step 7: Harvest and Sell
When are snails ready to harvest?
Look for two signs:
- Weight of 100g or more (premium buyers want 200–300g or larger)
- The lip of the shell (the rounded rim at the opening) is thick and hardened; this means the snail has finished growing for that stage and is fully mature
Do not harvest snails with thin, sharp shell lips, they are still growing. Leave them a few more weeks.
Problems in snail farming and how to solve them.
Where to sell:
Local markets and food sellers: Most accessible for beginners. Sell by weight. Know the price per kilogram before your first harvest.
Restaurants and pepper soup spots: Consistent repeat buyers who need fresh snails regularly. Visit with a sample and propose a regular supply arrangement.
Hotels and event caterers: Pay premium prices for large, quality snails delivered reliably.
Direct household sales via WhatsApp: Build a contact list of households who buy snails regularly. Post your harvest photos on WhatsApp Status. This earns you retail price without sharing your margin with a middleman.
How to sell your farm products using WhatsApp.
Exporters: Nigeria exports snails to Europe, particularly to West African diaspora communities. This channel requires larger volume and packaging standards but offers high prices.
Common Mistakes Beginners Make
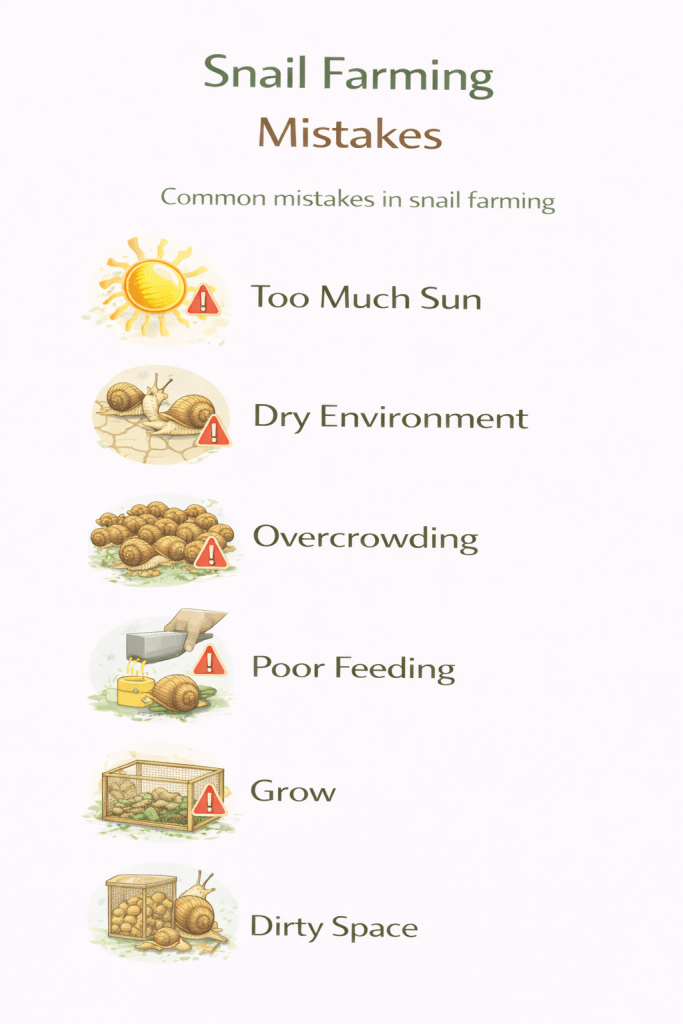
Placing the snailery in direct sunlight. Snails dehydrate and die quickly in sun. This is the most common beginner mistake. Shade is non-negotiable.
Not controlling moisture. Too dry and snails shrivel and die. Too wet and they get infections. Aim for consistently moist; not soaking conditions.
Overcrowding. Too many snails in one pen leads to competition for food, slow growth, and stress. A rough guide: 5–7 large adult snails per square metre of floor space.
Feeding salted or processed food. Salt kills snails. Remove all salted food scraps from what you offer. Also avoid citrus and onions.
Not removing uneaten food. Rotting food attracts ants, flies, and rodents. Clean the pen every morning before adding fresh food.
Skipping calcium. Snails without enough calcium develop thin shells that break easily and grow slowly. Crushed eggshells in the pen are free and effective.
Starting too large before learning. Beginners who start with 500 snails before understanding the basics often lose most of them. Start with 20–50 for your first season.
No buyers lined up before harvest. Find your buyers before your snails are ready. Snails left in the pen past market maturity continue eating without growing further.
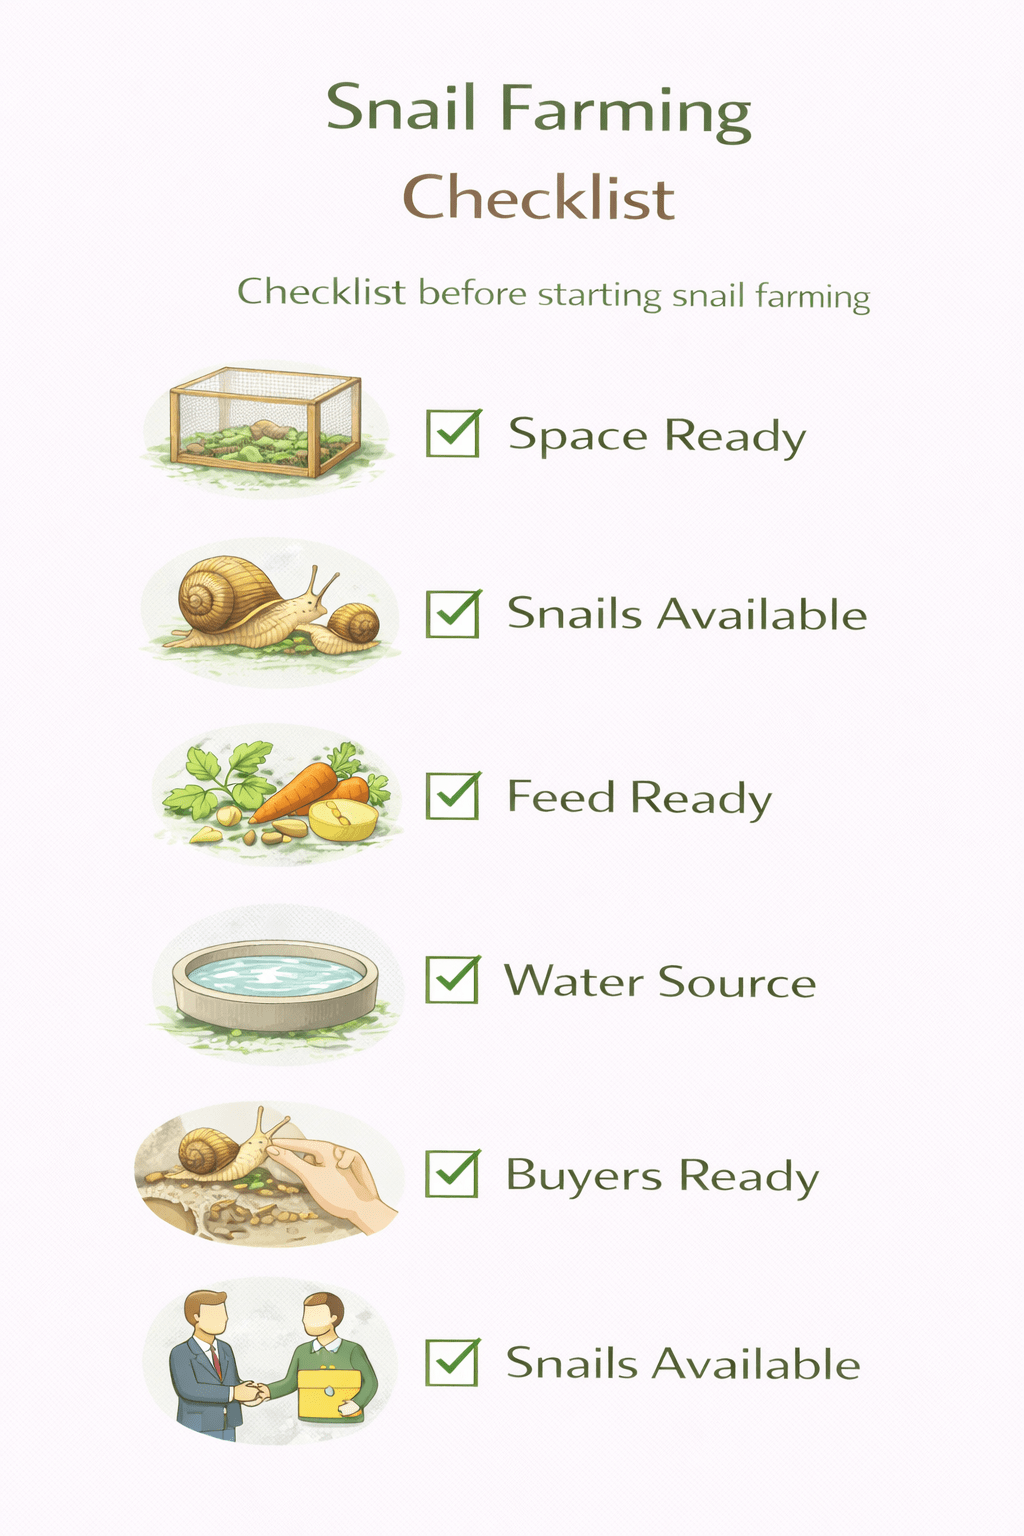
Simple Checklist Before You Start
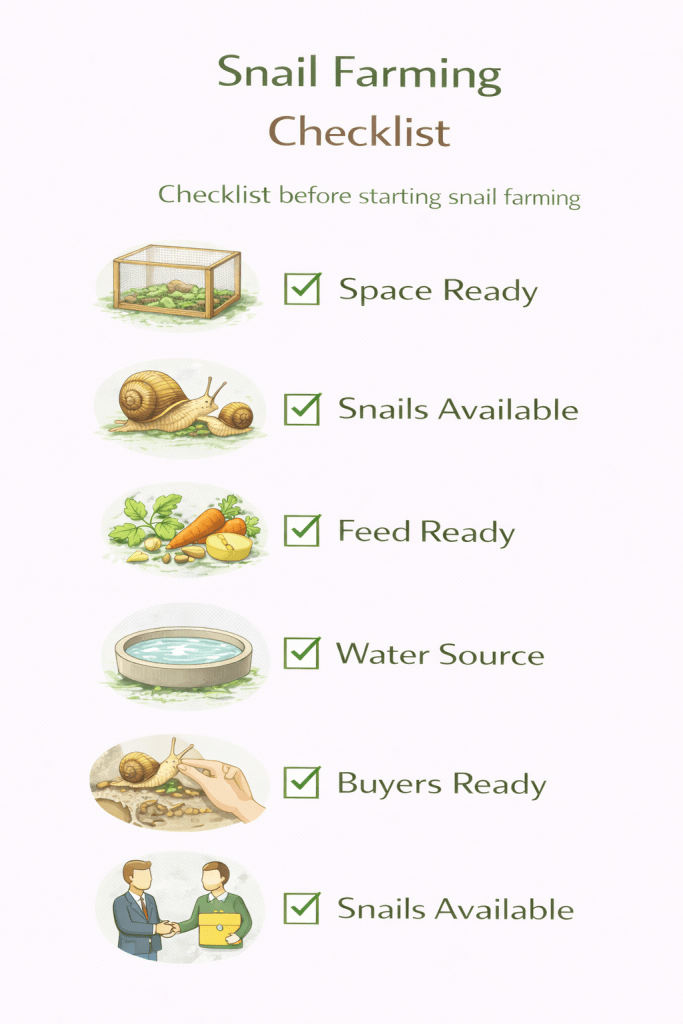
Work through this before you buy your first snail:
- Do you have a shaded, moist space for a snailery?
- Do you know where to buy healthy starter snails?
- Have you visited a local market and confirmed that snails sell in your area?
- Do you have access to pawpaw, fresh leaves, and kitchen scraps for feeding daily?
- Can you commit 20–30 minutes each day to feeding and checking the snailery?
- Do you have a basic plan for who will buy your snails when they mature?
All yes? You are ready to start.
Conclusion
Snail farming is genuinely one of the easiest and lowest-cost ways to enter livestock farming in Nigeria. The daily work is simple. The startup investment is small. And the demand for snails is real.
Start with 20–50 snails. Learn how they behave in your specific environment. Pay attention to what they eat fastest, how your soil holds moisture, and how quickly they grow. Use that knowledge to improve with every batch before you scale.

Leave a comment