This is the place to start if you want to cultivate mushrooms without using a readymade kit. Shiitake and oyster mushrooms, two species that are good choices for beginners, work well with the PF Tek (“psilocybe fanaticus technique”) approach, which was originally developed by psilocybe farmers.
This approach is beneficial for beginners for a number of important reasons. First, it makes use of materials that are widely accessible. Second, this substrate can be sterilized by simply heating the jars in a stovetop pot.
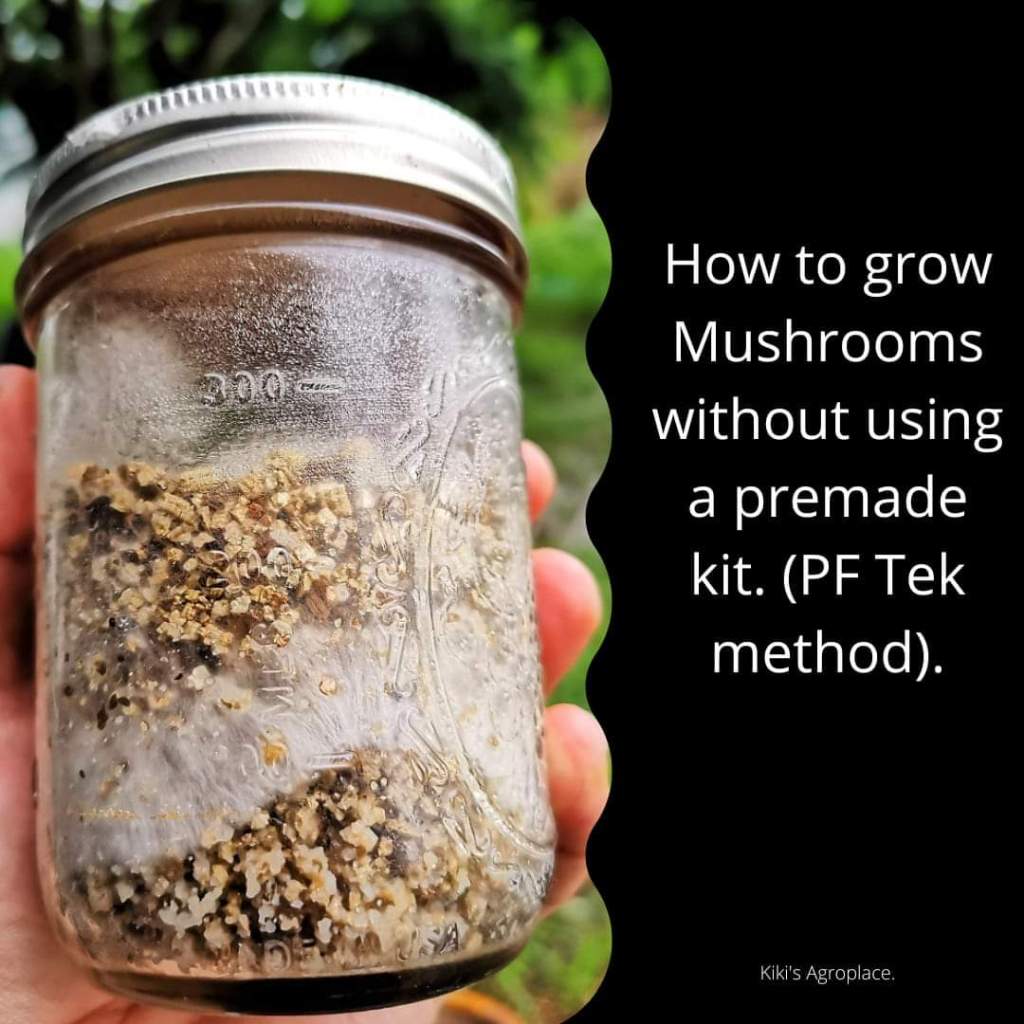
Materials required for the PF Tek method.
– Mixing bowls
– Paper towels
– Alcohol & swabs or cotton balls
– ⅛” (3 mm) nail
– Hammer
– Masking tape
– Aluminum foil
– Large pot with lid or pressure cooker
– Spore or liquid culture syringe
– Bleach solution
– Lighter
PF Tek Fruiting Formula (per jar)
– ½ cup (8 g) vermiculite or sawdust
– ¼ cup (60 mL) water
– ¼ cup (45–50 g) brown rice flour
Time Required
– Prep: 30 minutes–1 hour
– Sterilization: 1½ hours
– Inoculation: 20 minutes
– Incubation: 2 weeks
– Dunking: 24 hours
– Fruiting: 2 weeks
Steps involved in the PF Tek method
– Prepare the jars
Hammer four holes through each lid, using a ⅛” (3 mm) nail. Wipe the interior of each jar with alcohol.
– Mix the substrate
6 cups (96 g) of vermiculite or sawdust and 3 cups (.75 L) of water should be combined in a sizable mixing bowl. Completely combine. To the vermiculite mixture, add 3 cups (500–600 g) of brown rice flour, and well combine. Approximately 12 jars of substrate should now be able to be filled.
– Fill the jars
The vermiculite mixture should be added to each jar until it reaches the lowest ring band. Do not compact it. Use a paper towel to thoroughly clean the jar tops. a layer of dry vermiculite to the top of each jar. This acts as a barrier against contamination.
– Place the lids
After setting the lid, tighten the ring band. Masking tape should be used to cover the holes. To produce a small tab out of the tape by folding it over, which makes it simple to remove following sterilization.
– Sterilize the jars
Each jar needs foil protection. Foil squares of 8″ x 8″ (20 cm x 20 cm) can be cut out and adhered. Put 2″ (5 cm) of water in a big pot to steam the jars. To keep the jars out of the water, place a small rack or other raised surface within the pot. Then, arrange the jars on the rack. Steam the jars for 60–90 minutes with the cover on. Leave the jars in the pressure cooker for 45 minutes. In the pot, allow the jars to cool. Wait until you’re ready to vaccinate them before opening it. Before using, let your jars come to room temperature fully.
– Inoculation.
Inoculate the substrate. Place the jars in a clean area. The jars’ foil should be taken off. Fill your glove box with your syringes, bleach solution, paper towels, alcohol swabs, and lighter. Apply the bleach solution to a piece of paper towel and use it to clean the box’s sides and bottom, the syringes, and any other instruments. To equally disperse the spores or culture throughout the fluid, shake the syringe. To flame sterilize the needle, take off the plastic needle cap. If your syringe is disassembled when it is delivered, you might need to reattach the needle before sterilizing it. Holding a flame to the needle until you can see that it is red-hot will sterilize it. Allowing the needle to quickly cool by wiping down with an alcohol swab. Pull back the tape and inject about ¼ cc of fluid from the syringe into each hole of each jar lid. Cover the hole again after each injection. Repeat this process for all jars.
– Incubate
For colonization, place your inoculated jars in a warm, dry, and dark location. For the majority of species, you’ll want the incubation space to be between 75 and 85 degrees Fahrenheit (24 and 29 degrees Celsius). Give the jars two weeks to rest and incubate. Initial development in your jars should be seen in 3 to 5 days, though it may take up to 7 days or longer. The jars will typically take 2 to 3 weeks to fully colonize. Remove and discard any jars with growth that is colored anything other than white as soon as you notice it. Green, pink, or black are frequently used colors. In the house, never open infected jars.
– Dunking
You should soak your jars in water for 24 hours before putting them in the fruiting chamber once they are fully colonized and prepared to be there. Better yields are obtained by dunking the jars in water just before the fruiting process starts. Simply unscrew the lid of each jar while working over a sink, add water to the jar, and then screw the top back on. When you put the cap back on, you might need to shove the colonization cake back into the water, which will likely result in some water spilling out. For this 24-hour soaking period, keep the jars in the fridge.
– Fruiting
The jars should be put in a growing chamber. To increase water retention for the fruiting phase, you might want to think about double-end casing your cakes.
Don’t forget to like, share and comment if you find this helpful

Leave a comment