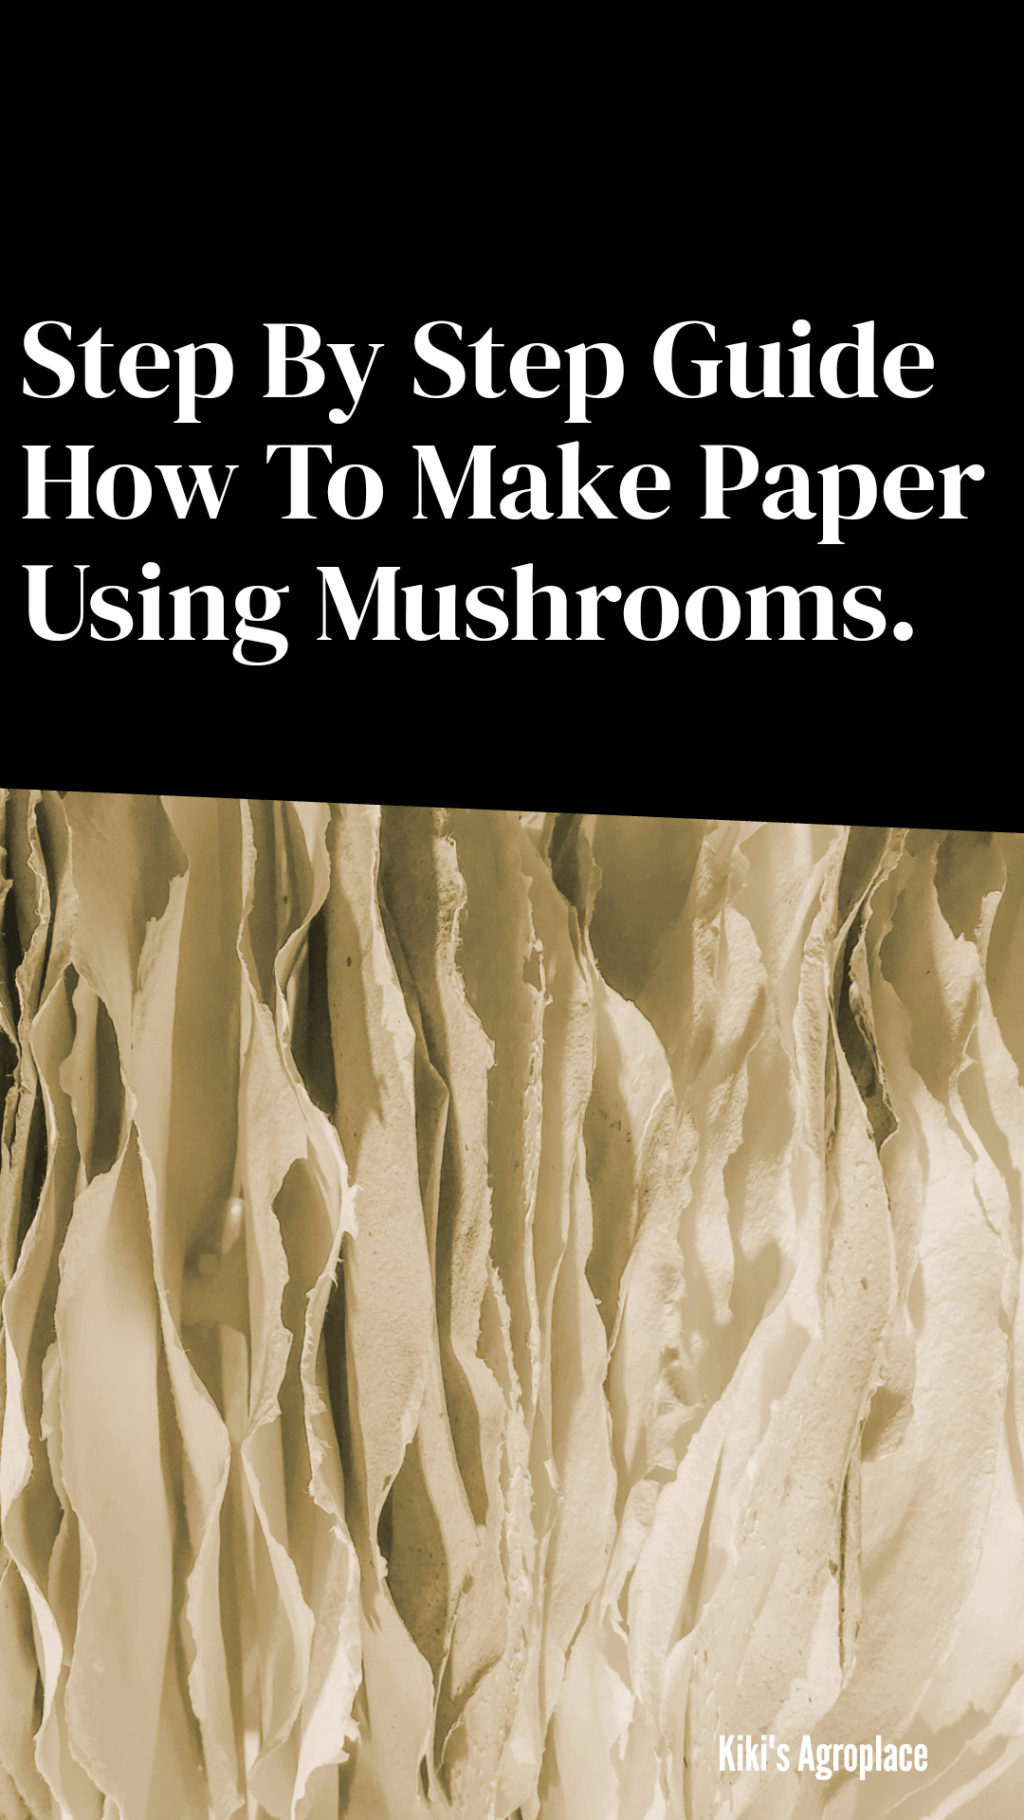
Not every mushroom on your farm or in the surrounding forest is meant for the kitchen — and some of the toughest, most inedible ones make genuinely good paper. Polypores (the hard, shelf-like bracket fungi you find growing on dead or dying trees) are especially well suited to this because of their high fiber content, durability, and the fact that they’re available year-round, unlike seasonal edible species.
Why Bother Making Paper From Mushrooms
- It uses what would otherwise be waste. Inedible polypores and past-their-prime mushrooms that aren’t worth selling get a genuine second use instead of being discarded.
- It’s biodegradable and reduces reliance on wood-pulp paper.
- It’s genuinely versatile — from packaging material to craft paper for cards, art, or small product labels.
Where to Find Suitable Mushrooms
Polypores grow on dead or dying hardwood trees across most forested regions of Africa, not just in temperate countries — look for hard, shelf-like growths on tree trunks and fallen logs rather than the soft-capped mushrooms you’d eat. Fresh polypores work best, though dried or slightly aged ones are usable too.
Supplies You’ll Need
- Mushrooms — fresh polypores work best, though dried or older ones are usable
- Screen and deckle — two wooden frames, one with a wire mesh screen and one left open, the basic tool of hand papermaking
- A high-speed grinder or blender — needed to break down the tough, leathery mushroom material
- A shallow tub, at least 2 feet square, to float the pulp slurry
- Towels and newspaper — for draining and stacking the paper as it dries
- A sponge — to help release the formed sheet from the screen
- Weights — to press the paper and speed up drying
- A clothesline or drying rack and clothespins
Step-by-Step: Making Mushroom Paper
Step 1: Prepare the slurry. Break large polypores into smaller pieces, then blend with enough water to create a smooth, homogeneous slurry.
Step 2: Set up your work area. Fill the shallow tub with a few inches of water. Lay a towel on a table, then stack about ¼ inch of dry newspaper on top of it.
Step 3: Add the slurry to the tub. Pour it in slowly so it floats on the water, adding enough for an even layer — if it looks thin or has see-through patches, add more.
Step 4: Form the sheet. Hold the screen (mesh side up) with the empty deckle frame on top, dip both in at an angle to slide under the floating slurry, then lift and gently shake to spread it evenly as the water drains through.
Step 5: Transfer to newspaper. Flip the screen face-down onto your prepared newspaper stack. Use a wet sponge to gently press the back of the screen as you lift it away, leaving the paper layer behind. Cover with more dry newspaper and a towel.
Step 6: Repeat until you’ve used all your slurry, then top the whole stack with a final layer of newspaper and add weights on top to press out moisture.
Step 7: Initial drying. After 6 to 12 hours, remove the weights and separate the layers, leaving each paper sheet exposed to air on its newspaper base for about an hour more.
Step 8: Final drying. Carefully peel each sheet off its newspaper base and hang it on a line or rack until fully dry.
Key Takeaways
- Polypores (hard bracket fungi on dead wood), not soft edible caps, are what you want for this craft.
- Fresh material works best, but dried or aged polypores are usable too.
- The core process is standard hand-papermaking technique, adapted for a tougher raw material.
- This is a good way to use inedible finds or past-their-prime mushrooms instead of discarding them.
FAQ
Can I use edible mushrooms to make paper?
You can, but it’s a poor use of them — edible species like oyster or button mushrooms don’t have the tough fiber content polypores do, and using them this way wastes food you could sell or eat. Save this craft for the inedible bracket fungi you’d otherwise throw away.
Do I need special papermaking equipment?
Just a screen and deckle (two simple wooden frames, one with mesh), which are inexpensive and widely available from craft suppliers, or straightforward to build yourself.
What can mushroom paper actually be used for?
Craft projects, greeting cards, art paper, and small-scale packaging material are the most practical uses at a hobby or small-business scale.
If you’re growing mushrooms for food and want more ways to use everything your farm produces, see our mushroom value addition guide for income-generating options, or start with our complete beginner guide to mushroom farming if you haven’t grown mushrooms before.


Leave a Reply