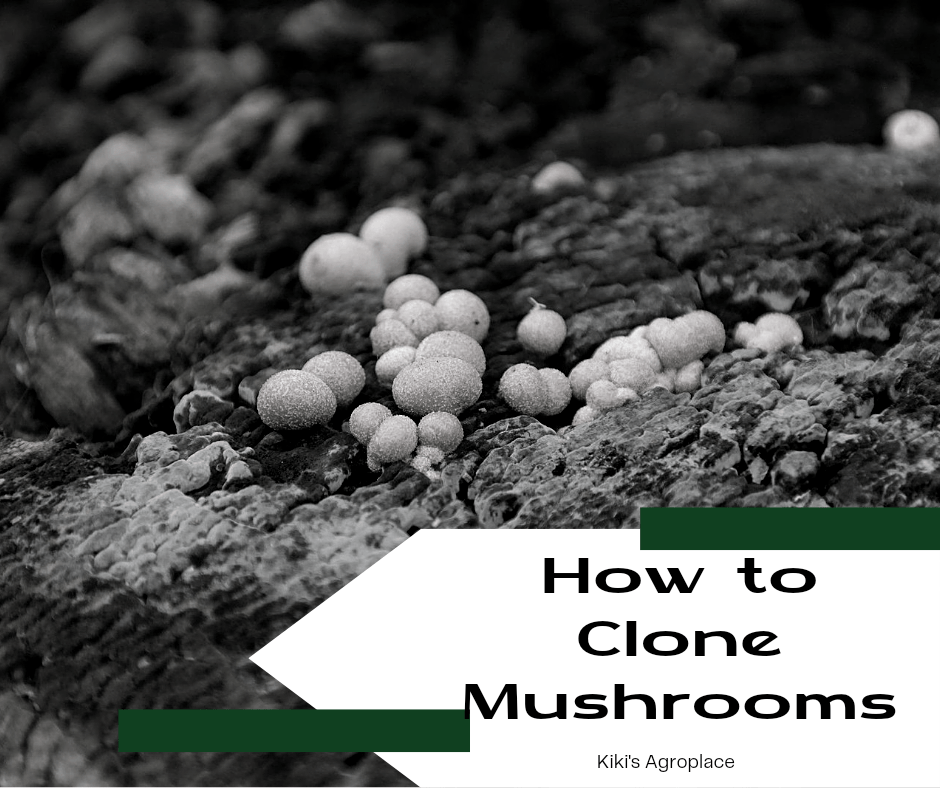
Cloning lets you take one excellent mushroom and produce genetically identical copies of it; every trait preserved, none of the unpredictability you get from spores. This guide covers the real process, including the sterile workspace and grain spawn step most beginner guides skip entirely.
Why Clone Instead of Using Spores?
Spores come from sexual reproduction, which mixes genetics, like two parents producing a child with a random mix of traits. Cloning skips that entirely: you’re taking living tissue from one specific mushroom and growing an exact genetic copy. If you have a mushroom that fruited fast, grew large, or resisted disease well, cloning is how you lock in and repeat that exact result.
Materials Needed
- A fresh, healthy mushroom; thick-fleshed species (shiitake, king oyster, oyster, cremini) are easiest to work with, ideally young ones still in the “button” stage
- Sterile scalpel or razor blade
- Still air box (a simple enclosed box with armholes) or a laminar flow hood, if you have access to one
- Sterile petri dishes with agar medium
- Parafilm or clear tape, for sealing plates
- Isopropyl alcohol and gloves
- A lighter or flame source, for sterilizing your scalpel between cuts
Step 1: Set Up a Sterile Workspace
This step gets skipped in a lot of beginner guides, and it’s the single biggest factor in whether your clone succeeds. Wipe down your work surface, gloves, and tools with isopropyl alcohol. A still air box – an enclosed plastic tub with armholes cut into the sides- keeps air movement to a minimum around your workspace and is a low-cost alternative to a laminar flow hood. Without one of these, airborne mold spores land on your agar constantly, and that’s where most failed clones come from.
Step 2: Choose and Prepare Your Mushroom
Pick a mushroom that’s firm, healthy, and free of discolouration, soft spots, or mold. Fresh, unwashed mushrooms from a grocery store can work too, as long as they haven’t been irradiated or sitting too long. Tear the mushroom in half by hand rather than cutting all the way through it with a blade; tearing exposes the sterile inner flesh without dragging surface contaminants into the middle, which is exactly what happens if you slice straight through from the outside.
How to choose the best mushroom species to grow.
Step 3: Extract the Tissue Sample
Flame-sterilize your scalpel until it glows, then let it cool for a few seconds. Cut a piece of inner tissue from the middle of the stem or cap, about the size of a grain of rice. Smaller is genuinely better here: a larger piece slows colonization and raises your contamination risk.
Step 4: Plate the Tissue
Place the tissue in the center of your agar plate without touching the agar surface with your fingers or tool handle. Seal the dish with parafilm immediately, and label it with the species and date. Don’t leave the dish open for more than a few seconds; that’s enough time for airborne contaminants to settle in.
Step 5: Incubate
Store the plate somewhere dark and warm, around 70-75°F (21-24°C). Check it daily. Healthy mycelium appears as bright white, wispy growth spreading outward from the tissue, usually visible within 2-3 days and fully established within 1-2 weeks. Any green, black, orange, or slimy growth means contamination; don’t try to save it, start over with a fresh sample.
Step 6: Purify If Needed
It’s common not to get a perfectly clean plate on the first try, especially with wild-picked mushrooms. If you see a little contamination but also clean white mycelium growing well away from it, cut a small piece from the clean section and transfer it to a fresh plate. Repeat this a couple of times if needed until you have a fully clean culture.
Step 7: Move to Grain Spawn
Once your plate is fully colonized and clean, don’t go straight to your growing substrate; that’s a step too far, too fast. Cut a small piece of the colonized agar and transfer it to sterilized grain spawn (or a liquid culture jar first, then grain). This step multiplies your mycelium into a usable volume before it goes anywhere near your final growing substrate.
How to make mushroom grain spawn for beginners.
Step 8: Spawn to Substrate and Fruit
Once your grain spawn is fully colonized (solid white, no clumps of unspawned grain visible), mix it into your bulk substrate, logs, or growing medium, following the process for whichever species you’re growing. See our guides on oyster, shiitake, and general beginner cultivation for the fruiting steps from here.
Compost Vs Substrate: Which one is best for you?
Timeline
| Stage | Time |
|---|---|
| Tissue to visible mycelium on agar | 2-3 days |
| Full colonization on agar | 1-2 weeks |
| Grain spawn colonization | 1-3 weeks |
| Substrate colonization to first harvest | Varies by species — see individual growing guides |
Key Takeaways
- Cloning preserves the exact genetics of a good mushroom; spores don’t.
- A sterile workspace (still air box or flow hood) matters more than any other single factor in your success rate.
- Tear the mushroom, don’t cut it, to reach clean inner tissue.
- Smaller tissue samples (rice-grain sized) colonize faster with less contamination risk.
- Agar to grain spawn to substrate; don’t skip the grain spawn step.
FAQ
How do I clone mushrooms with agar?
This is the method covered in this guide; take a small tissue sample from the inner flesh and place it on an agar plate in sterile conditions, then let mycelium grow outward from it.
Can I clone mushrooms without agar?
Alternative methods exist, but they carry a higher risk of contamination going unnoticed, since agar makes contamination visible early through color changes. Agar remains the recommended standard, especially for anyone still learning sterile technique.
Can I clone mushrooms at home without expensive equipment?
Yes. A still air box – a plastic tub with armholes – is a low-cost, effective substitute for a laminar flow hood for home-scale cloning.
How do I clone oyster mushrooms?
The same process covered in this guide works well for oyster mushrooms; they’re one of the more forgiving species to clone.
How do I clone shiitake mushrooms?
Shiitake’s thick flesh makes it a good candidate for cloning using this same process. See our shiitake cultivation guide for what comes after spawning.
How do I clone enoki mushrooms?
Enoki is thin-fleshed and small, which makes it harder to get a clean tissue sample from thicker species; expect a higher contamination rate and more attempts needed.
How do I clone morel mushrooms?
The tissue culture step itself works the same way as any other species. The challenge with morels isn’t cloning them; it’s getting cloned morel mycelium to actually fruit reliably, which remains a well-known, mostly unsolved problem in home and commercial cultivation.
Can I clone wild mushrooms?
Yes, the process is the same. Wild specimens tend to carry more surface contaminants than farmed ones, so sterile technique matters even more; tear rather than cut, and take your sample from deep inside the flesh.
Can I clone a dehydrated mushroom?
It’s possible in some cases if a little moisture remains in the cells, but success rates drop sharply compared to fresh tissue. Don’t count on it working; use fresh tissue whenever you can.
What do I need to buy to get started cloning mushrooms?
Agar plates, a scalpel, parafilm, isopropyl alcohol, and either a still air box or flow hood. Mushroom cultivation supply stores sell complete starter kits with all of this included.
Kiki’s Agroplace: Bridging the knowledge gap in agriculture.


Leave a Reply